Beginner's Guide to Your First Marine Aquarium
A saltwater aquarium is one of the most rewarding hobbies you can pick up — but it rewards patience and research. This guide covers everything you need to go from empty tank to thriving marine community.
Is Marine Fishkeeping Right For You?
Before you invest, here's an honest look at what keeping a saltwater aquarium involves.
Time Commitment
~30 minutes/day during setup and cycling. Once established, 1–2 hours per week for maintenance, feeding, and observation.
Budget Reality
$500–$2,500 to start depending on tank size. Ongoing costs of $30–$80/month for salt, food, test kits, and electricity.
The Reward
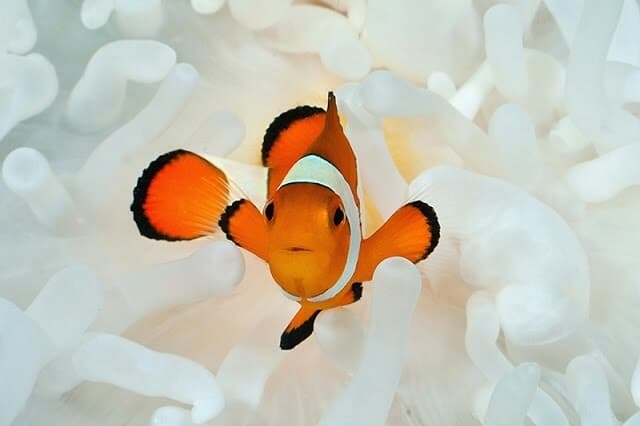
A living piece of the ocean in your home. Watching a clownfish host an anemone or a goby build its burrow — nothing else compares.
Types of Saltwater Tanks
Before buying equipment, decide which type of saltwater tank you want. This choice determines your budget, equipment list, and complexity.
Fish-Only (FO)
Just fish and basic filtration. No live rock, no corals. The simplest and cheapest way to keep saltwater fish.
FOWLR
Fish-Only With Live Rock. Live rock provides natural biological filtration and a more natural look. The recommended starting point.
Reef Tank
Fish, live rock, and corals. Requires precise water chemistry, high-end lighting, and more advanced equipment. Beautiful but demanding.
Our recommendation: Start with a FOWLR tank. Live rock provides the best biological filtration, the equipment is affordable, and you can always upgrade to a reef tank later once you're comfortable with water chemistry.
Understanding the Nitrogen Cycle
This is the single most important concept in fishkeeping. Every new aquarist must understand this before adding a single fish.
Beneficial bacteria convert toxic ammonia (from fish waste) into nitrite, then into relatively harmless nitrate. This bacterial colony takes 4–8 weeks to establish — there are no shortcuts.
How to cycle: Add a source of ammonia to your fishless tank. Pure ammonia (Dr. Tim's Ammonium Chloride) or bottled bacteria (Fritz TurboStart, Bio-Spira) are the most reliable methods.
How to know it's done: Ammonia reads 0 ppm, nitrite reads 0 ppm, and nitrate is present. Your tank can now process the waste that fish produce.
Rule #1: NEVER add fish before the cycle is complete.
This is the number one cause of fish death in new aquariums. Patience during cycling saves lives — and saves you money.
Choosing Your Tank Size
Counter-intuitively, bigger tanks are easier. More water volume means more stable chemistry and more room for error. A 30–40 gallon tank is the sweet spot for most beginners.
Nano
10–20 gal1–3 small fish
Great for a desk or bedroom. Limited stocking but rewarding once stable.
Smaller water volume = less stable. Actually harder for beginners.
Small
30–40 gal4–6 fish
The sweet spot for beginners. Stable water parameters with room for a diverse community.
Most recommended size for your first saltwater tank.
RecommendedMedium
55–75 gal6–10 fish
Opens up more species. Enough space for tangs and active swimmers.
Great if you have the space and budget.
Large
90–125+ gal10+ fish
Room for tangs, angels, and larger species. Most forgiving water chemistry.
Higher upfront cost but easiest to maintain long-term.
FOWLR vs. Reef: A Fish-Only With Live Rock (FOWLR) tank is simpler and cheaper — you skip expensive lighting and coral-specific equipment. Start FOWLR and upgrade to reef later if the bug bites.
Equipment Essentials
Here's everything you need to get started. Buy quality equipment from the start — cheap gear fails and costs more to replace.
Tank + Stand
Glass or acrylic tank on a stand rated for its filled weight. Filled tanks weigh ~10 lbs/gallon.
Heater
Titanium or glass heater with a thermostat. Use 3–5 watts per gallon. Two smaller heaters are safer than one large.
Powerhead / Wavemaker
Creates water flow for gas exchange and mimics natural ocean currents. Aim for 20–30x tank volume turnover per hour.
Protein Skimmer
Removes dissolved organic waste before it breaks down. The single most effective filtration for saltwater tanks.
Lighting
LED is the standard. Fish-only tanks need basic lighting; reef tanks need higher-end LEDs for coral growth.
Test Kit
API Saltwater Master Test Kit or Salifert kits. Test ammonia, nitrite, nitrate, pH, and alkalinity.
Refractometer
Measures salinity accurately. Floating hydrometers are unreliable — invest in a refractometer from day one.
RO/DI Unit
Purifies tap water by removing chlorine, heavy metals, and phosphates. Essential — tap water causes algae blooms.
Salt Mix
Marine-grade salt (Instant Ocean, Red Sea, Fritz). Mix with RO/DI water to target 1.025 sg before adding to tank.
Live Rock
Porous rock colonized by beneficial bacteria. The biological heart of your filtration. Use ~1 lb per gallon.
Substrate
Aragonite sand (1–2 inch bed). Buffers pH and provides habitat for beneficial bacteria and burrowing fish.
Need help calculating tank volume or salt mix amounts? Try our aquarium calculators →
Read the full Equipment guideBudget Reality Check
Saltwater aquariums aren't cheap, but they don't have to break the bank. Here are realistic ranges depending on your ambition.
| Tier | Setup Cost | What You Get |
|---|---|---|
| Budget | $400–$600 | 20–30 gal nano, basic equipment, 2–3 fish. Used equipment can help here. |
| Mid-Range | $800–$1,200 | 30–55 gal, quality skimmer, good lighting, 4–6 fish. Best value tier. |
| Reef-Ready | $1,500–$2,500+ | 55–75 gal with sump, premium LED, ATO, controller. Ready for corals and a full community. |
Monthly Ongoing Costs
Setting Up Your Tank
Follow these steps in order. Patience during the cycling phase is the key to long-term success.
- 1
Research and plan
Decide on tank size, budget, and which species you want. Read this entire guide. Allow 2–4 weeks for research.
- 2
Purchase equipment
Get your tank, stand, heater, powerhead, protein skimmer, lighting, test kit, refractometer, and RO/DI unit.
- 3
Set up tank and rockwork
Place the tank on a level stand (never move a filled tank). Add aragonite substrate, then arrange live rock to create caves and overhangs.
- 4
Fill with saltwater
Mix RO/DI water with marine salt to 1.025 sg. Fill the tank and turn on heaters, powerheads, and skimmer.
- 5
Begin the nitrogen cycle
Add a source of ammonia — pure ammonia (Dr. Tim's) or bottled bacteria (Fritz TurboStart). This starts growing the beneficial bacteria your tank needs.
Tip: Never add fish to cycle your tank. Fishless cycling is faster, safer, and more humane. - 6
Test water daily during the cycle
Monitor ammonia, nitrite, and nitrate. You'll see ammonia spike then drop, nitrite spike then drop, and nitrate rise. This typically takes 4–8 weeks.
Tip: The cycle is complete when ammonia = 0, nitrite = 0, and nitrate is present. Don't rush this. - 7
Add your first fish
Start with 1–2 hardy species from our Tier 1 picks. Drip acclimate them (see the Acclimation section below). Feed lightly.
- 8
Add fish slowly over months
Wait 2–4 weeks between each new addition. Add 1–2 fish at a time. Your biological filter needs time to adjust to each new bioload.
Tip: Add the most peaceful fish first and the boldest/most territorial last.
Water Parameters
Stable water chemistry is the single most important factor in keeping marine fish healthy. Test at least weekly and aim for these ranges.
| Parameter | Ideal Range | Why It Matters |
|---|---|---|
| Temperature | 76–80°F (24–27°C) | Outside this range, fish become stressed and disease-prone. Sudden swings are worse than a slightly off number. |
| Salinity | 1.023–1.025 sg (35 ppt) | Marine fish evolved in stable ocean salinity. Use a refractometer, not a hydrometer — they drift. |
| pH | 8.1–8.4 | Low pH stresses fish and inhibits biological filtration. Stable is more important than perfect. |
| Ammonia (NH₃) | 0 ppm | Any detectable ammonia is toxic. This is the #1 killer of new fish. Test frequently. |
| Nitrite (NO₂) | 0 ppm | Toxic even at low levels. If you detect nitrite, your cycle isn't complete — don't add fish. |
| Nitrate (NO₃) | <20 ppm | The end product of the nitrogen cycle. Manageable with water changes, but high levels fuel nuisance algae. |
| Alkalinity (dKH) | 8–12 dKH | Buffers pH stability. Low alkalinity causes pH crashes, especially overnight. |
Want personalized parameter recommendations for your specific fish? Try the Water Parameters Advisor →
Read the full Water Chemistry guideThe "Ugly Stage"
Every single saltwater tank goes through an ugly phase. This is normal, temporary, and not a sign of failure. Understanding this in advance is critical — it's the #1 reason beginners quit.
Bacterial Bloom
Days 1–7Looks like: Milky, cloudy water
Do: Nothing. This clears on its own in 3–7 days. Activated carbon can speed it up.
Don't: Don't do water changes — they can prolong the bloom.
Diatoms
Weeks 2–6Looks like: Brown dusty film on glass, rock, and sand
Do: Leave it alone. Your cleanup crew will graze it. Dies off naturally as silicates are consumed.
Don't: Don't scrub everything clean — it comes right back until silicates are depleted.
Cyanobacteria
Weeks 4–12Looks like: Slimy red, purple, or dark green mats on rock and sand
Do: Siphon it out during water changes. Improve water flow to eliminate dead spots. Reduce feeding.
Don't: Don't blast it with antibiotics — they treat the symptom, not the cause.
Green Hair Algae
Weeks 6–16Looks like: Green stringy filaments growing on rock and equipment
Do: Manual removal during water changes. Reduce photoperiod to 6–8 hours. Check phosphate levels. Turbo snails and emerald crabs help.
Don't: Don't panic-buy chemicals. Patience and manual removal are the real fix.
Total ugly stage: 2–6 months. It always passes.
Every beautiful reef tank you've ever seen online went through this exact same phase. The hobbyists who succeed are the ones who understand it's temporary and maintain their routine.
Your First Fish
Not all "beginner" fish are created equal. These 14 species are the most forgiving, widely available, and proven performers for new saltwater aquarists — hand-picked from recommendations across 8+ authoritative sources.
Pick ONE clownfish species per tank.
Clownfish are territorial and will fight other clownfish species. We recommend the Ocellaris Clownfish below, but the Percula Clownfish (the "true Nemo") and Clark's Clownfish (hardiest clownfish) are excellent alternatives.
Tier 1 — The Perfect First Fish
Start with 2–3 of these. Hardy, peaceful, reef-safe, and universally recommended.

Tier 2 — Excellent Second Additions
Add these after your first fish are settled — wait at least 4–6 weeks.
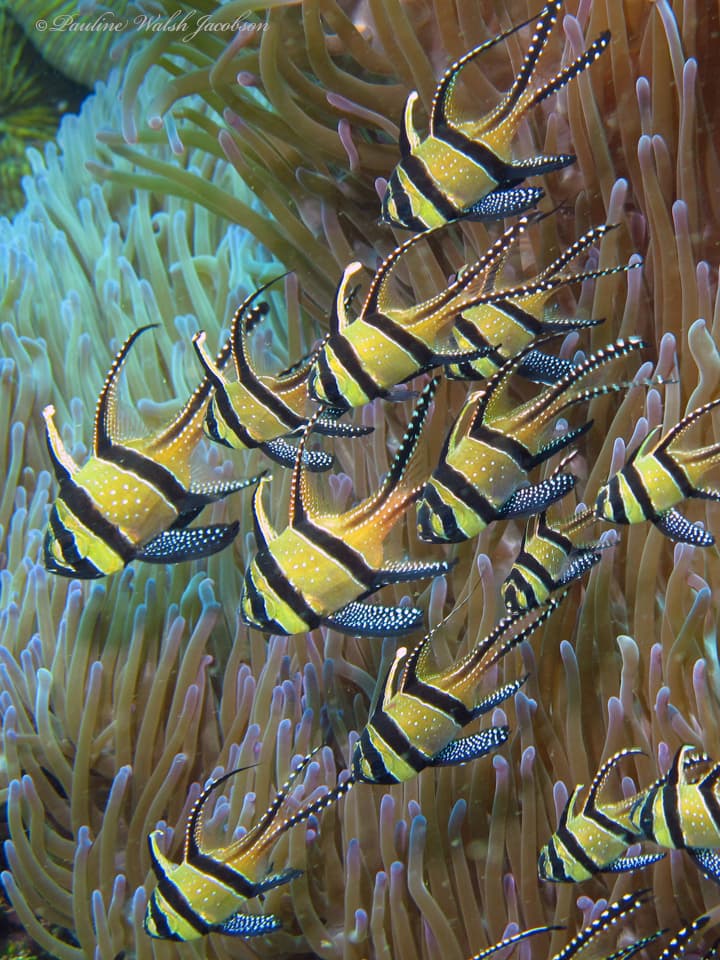
Banggai Cardinalfish
Pterapogon kauderni
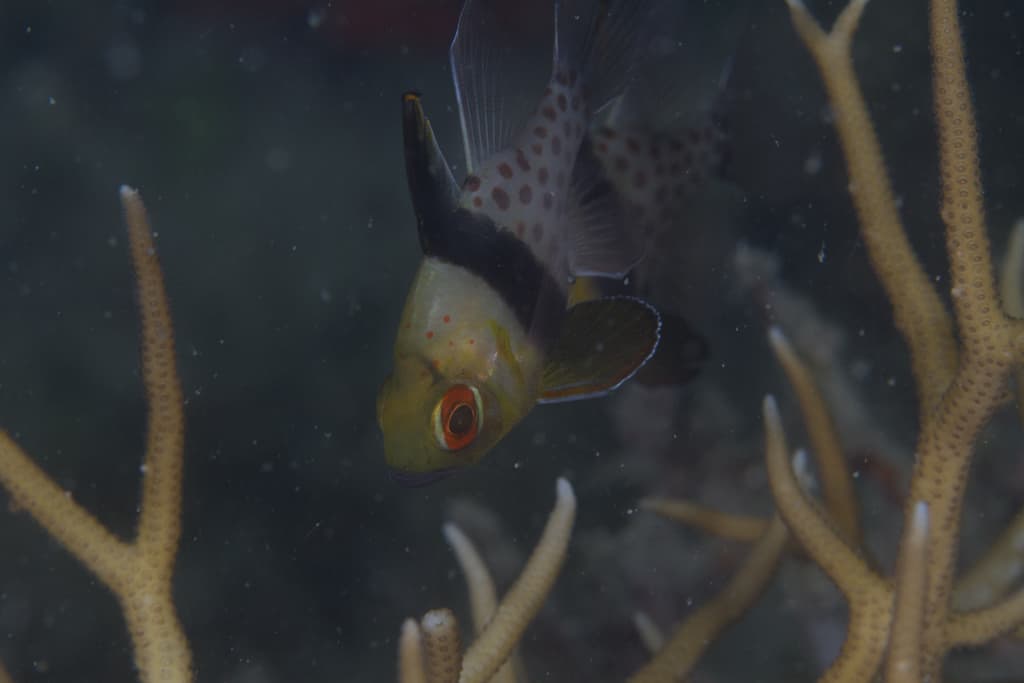
Pajama Cardinalfish
Sphaeramia nematoptera
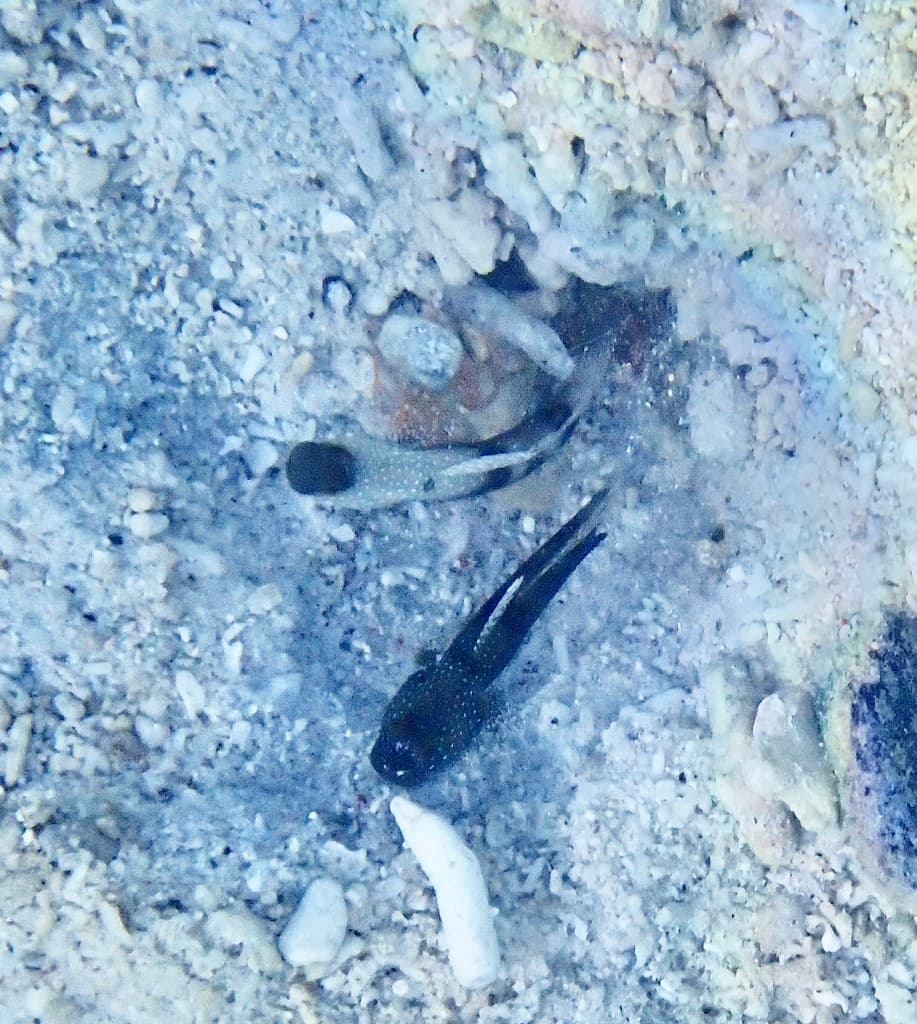
Yellow Watchman Goby
Cryptocentrus cinctus
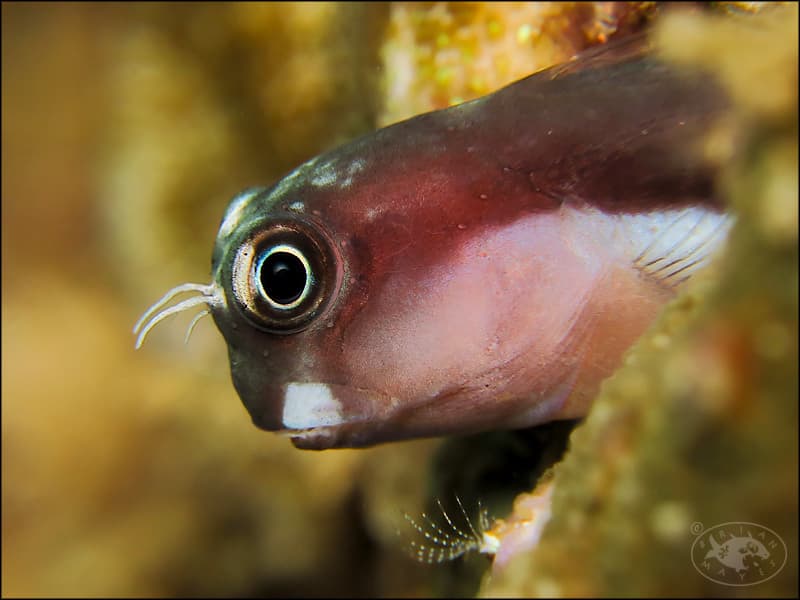
Bicolor Blenny
Ecsenius bicolor
Tailspot Blenny
Ecsenius stigmatura
Tier 3 — Once You're Comfortable
Add these once your tank is well-established — 3+ months of stable parameters.

Lawnmower Blenny
Salarias fasciatus
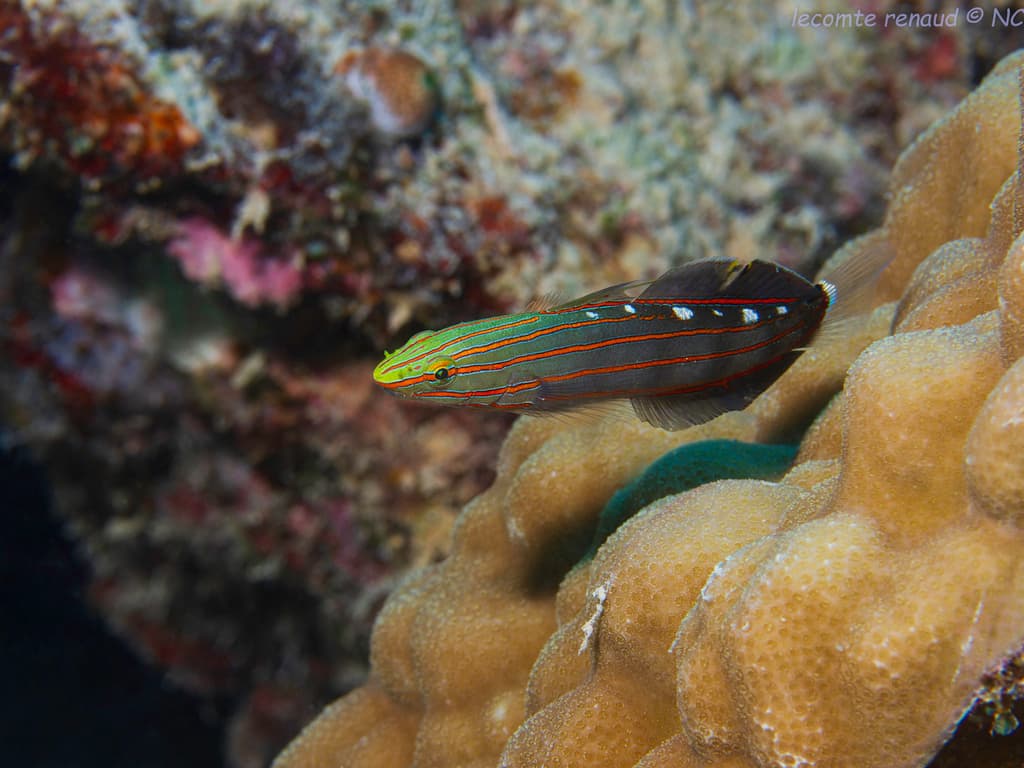
Court Jester Goby
Koumansetta rainfordi

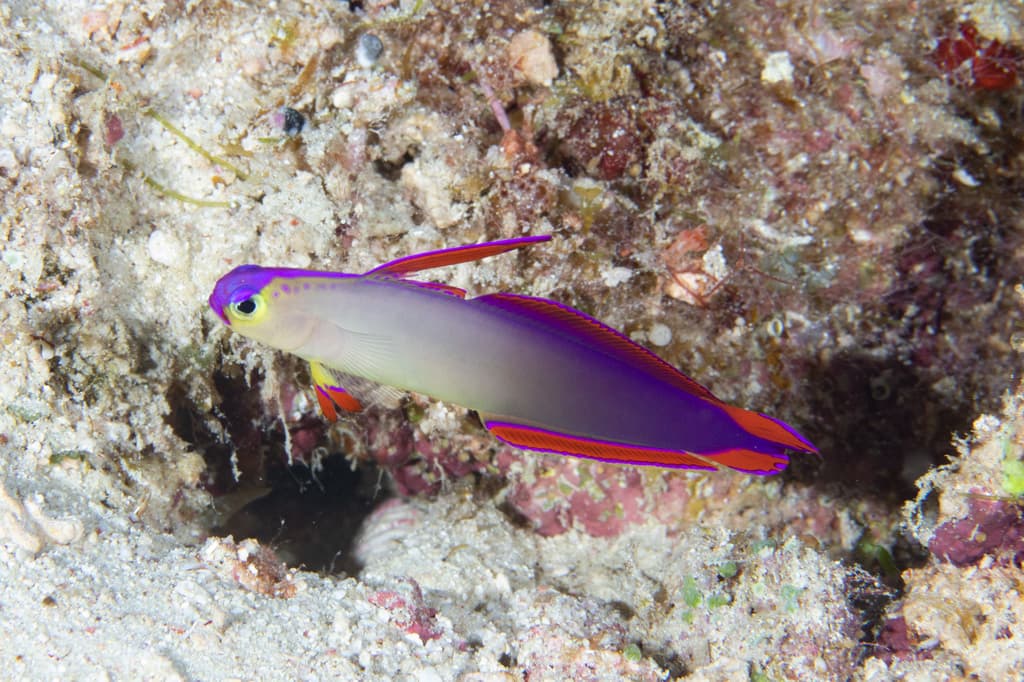
Purple Firefish
Nemateleotris decora
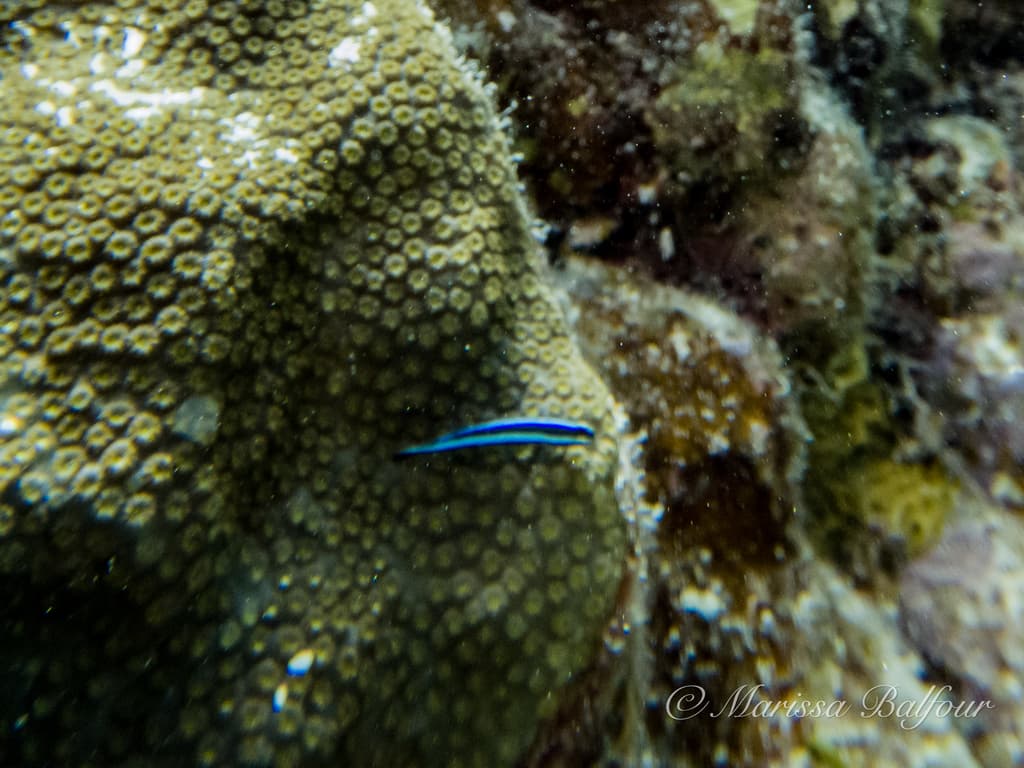
Neon Goby
Elacatinus oceanops
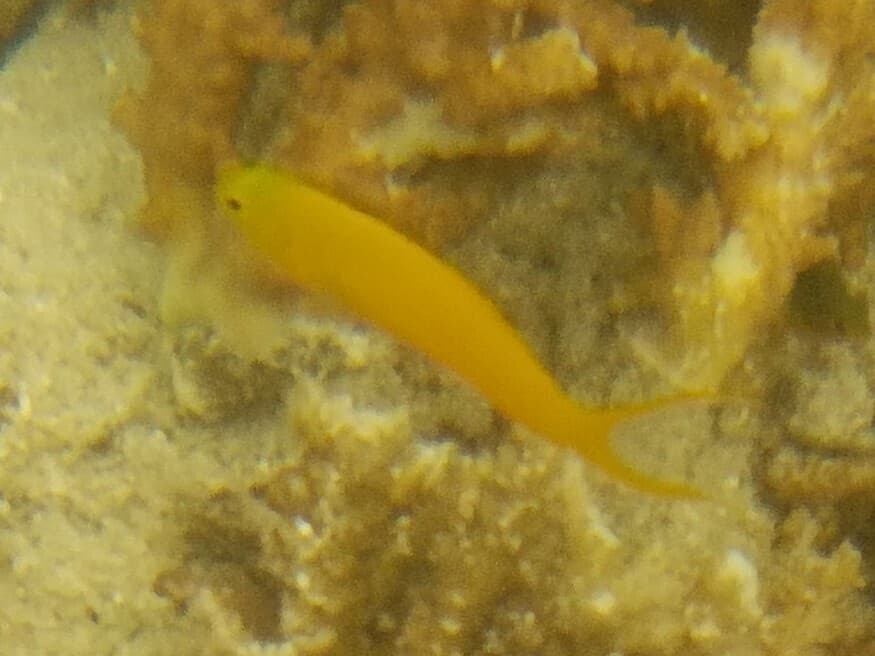
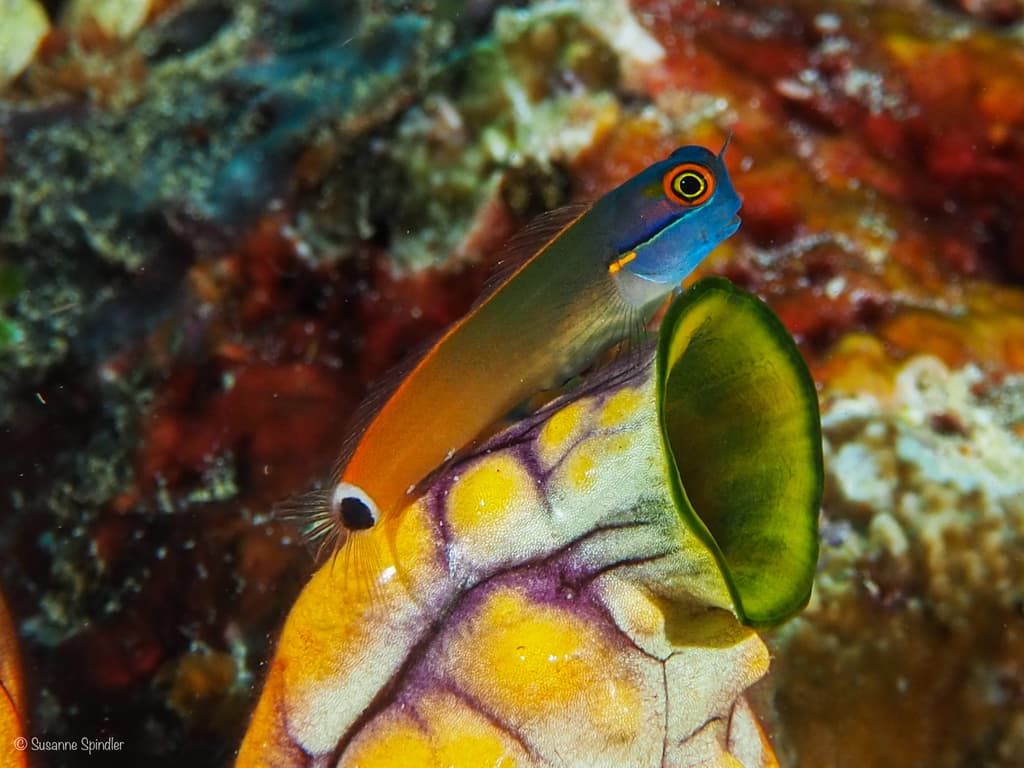
Canary Fang Blenny
Meiacanthus oualanensis
These 14 picks are the best of the best — but there are 190+ peaceful beginner species in our database.
Browse all beginner fishStocking Order
The order you add fish matters. Introduce the most peaceful, smallest species first — they need time to establish territories before bolder fish arrive.
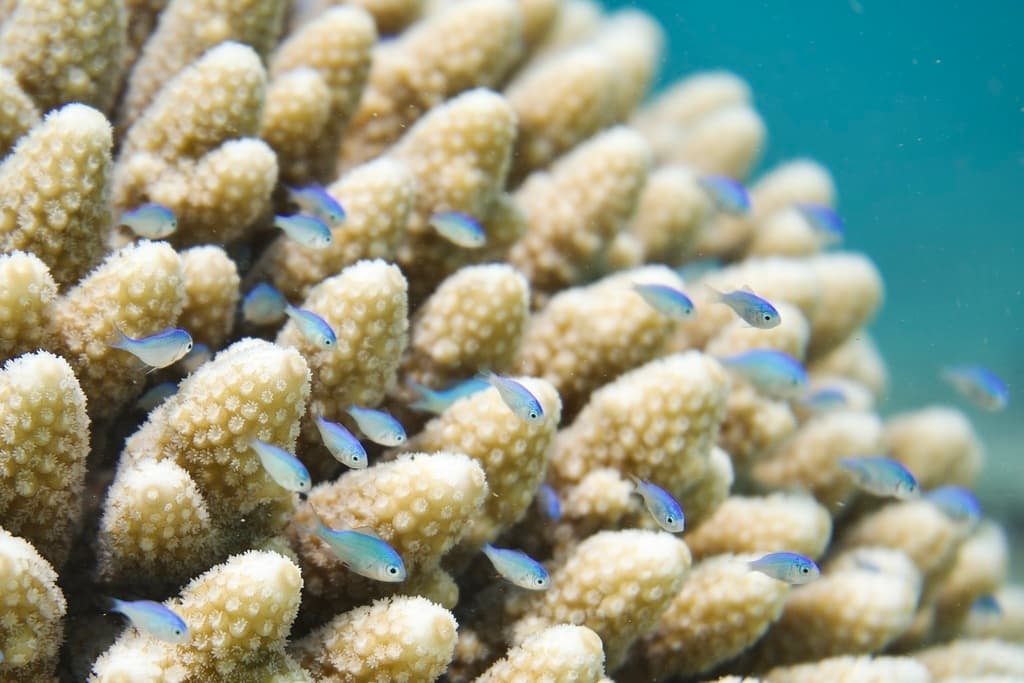
Small, peaceful fish first
Gobies, firefish, cardinalfish, and chromis. These establish without bullying.
Mid-size community fish next
Clownfish, blennies, and royal grammas. They are slightly bolder but still peaceful.
Most active/territorial fish last
Tangs, wrasses, and semi-aggressive species. Adding them last means they can't claim the entire tank as territory.
Golden rule: Add 1–2 fish at a time, and wait 2–4 weeks between additions. Your biological filter needs time to adjust to each new bioload. Use our Compatibility Checker to verify tank mates before buying.
Your Cleanup Crew
A cleanup crew (CUC) is a team of snails, hermit crabs, and shrimp that eat algae, detritus, and uneaten food. Add them after the cycle completes and diatoms are visible — that's their food source.
Essential Members
| Species | Role | Notes |
|---|---|---|
| Trochus Snails | Film algae, diatoms, hair algae | Best all-around snail. Can right themselves if flipped (unlike Astrea). |
| Cerith Snails | Film algae, diatoms, detritus in crevices | Corkscrew shells reach tight spaces. Great first addition. |
| Nassarius Snails | Leftover food, fish waste, detritus | Sand-burrowing scavengers, NOT algae eaters. Essential for sand bed health. |
| Astrea Snails | Film algae, diatoms | Voracious but cannot right themselves if flipped — check daily. |
| Blue Leg Hermit Crabs | Hair algae, cyano, detritus | Small, reef-safe. Always keep spare empty shells or they'll kill snails for theirs. |
How Many Per Tank Size
| Tank Size | Algae Snails | Nassarius | Hermits |
|---|---|---|---|
| Nano (10–20 gal) | 2–3 | 1–2 | 0–1 |
| Small (30–40 gal) | 4–6 | 3–4 | 2–3 |
| Medium (55–75 gal) | 8–12 | 4–6 | 3–6 |
| Large (90–125+ gal) | 15–25 | 6–10 | 5–10 |
Always keep spare empty shells for hermit crabs.
Hermit crabs will kill snails for their shells if they outgrow their current shell and no empty ones are available. Keep 2–3 spare shells per hermit in different sizes.
Acclimating New Fish
Proper acclimation prevents shock from sudden changes in temperature, salinity, and pH. The drip method is the gold standard.
- 1
Float the sealed bag
Float the unopened bag in your tank for 15–20 minutes to equalize temperature.
- 2
Open and secure the bag
Open the bag and roll down the edges to create a floating collar. Clip it to the tank rim if needed.
- 3
Start the drip line
Using airline tubing with a knot or valve, start a slow drip from your tank into the bag — about 2–4 drips per second.
- 4
Wait until the water doubles
Let the drip run until the water volume in the bag has roughly doubled. This takes 30–60 minutes.
- 5
Discard half and repeat
Pour out half the bag water (not into your tank!) and let the drip refill it again. This double-pass ensures thorough acclimation.
- 6
Net and release
Gently net the fish out of the bag and place it in your tank. Never pour bag water into your aquarium — it may contain ammonia, parasites, or copper.
Important: Dim your aquarium lights for the first few hours after adding a new fish. Bright lights add stress on top of the transition.
Feeding Basics
Overfeeding is the #2 killer in new aquariums (after cycling failures). Less is more.
How Much
Only what your fish can consume in 2 minutes. If food is hitting the bottom uneaten, you're feeding too much.
How Often
1–2 times daily. Small, frequent meals are better than one large feeding. Skip a day once a week — it won't hurt.
Food Types
Maintenance Schedule
Consistent maintenance prevents problems from snowballing. Here's a realistic schedule that keeps your tank healthy without consuming your weekends.
Daily
- •Check temperature and equipment
- •Top off evaporation with RO/DI freshwater
- •Feed and observe fish behavior
- •Empty protein skimmer cup if full
Weekly
- •Test water parameters (NH₃, NO₂, NO₃, pH)
- •10–15% water change with pre-mixed saltwater
- •Clean glass with a magnet cleaner
- •Rinse filter socks or sponges
Monthly
- •Clean powerheads and check flow
- •Replace filter media (carbon, GFO)
- •Inspect equipment for wear or salt creep
- •Test alkalinity and calcium (reef tanks)
Quarantine & Disease Prevention
Quarantining new fish is the single most effective way to prevent disease from entering your display tank. A basic quarantine setup costs $50–$100 and can save your entire tank from an ich or velvet outbreak.
Quarantine Tank Setup (~$50–$100)
Bare bottom — no sand, no rock
Won't remove medications like carbon filters do
Match display tank temperature
Hiding spots that are easy to sterilize
Monitor daily
Quick Disease Identification
| What You See | Likely Cause | Urgency | Action |
|---|---|---|---|
| White salt-grain spots on body/fins | Marine Ich | Moderate | Quarantine. Copper treatment for 30+ days. |
| Fine golden/gray dust coating | Marine Velvet | EMERGENCY | Quarantine immediately. Kills in 24–48 hours. |
| Heavy white slime (especially clownfish) | Brooklynella | EMERGENCY | Formalin dip + quarantine. Rapid killer. |
| Ragged, dissolving fins | Fin Rot (bacterial) | Low–Moderate | Improve water quality. Antibiotics if severe. |
| Scratching on rocks, no visible spots | Flukes (parasites) | Moderate | PraziPro treatment in quarantine. |
| White stringy feces, sunken belly | Internal Parasites | Moderate | Medicated food (MetroPlex + Focus). |
Essential Medications to Stock
Quarantine every new fish. No exceptions.
Marine Ich and Velvet are nearly impossible to eradicate from a display tank. If introduced, you must remove ALL fish and let the tank run fishless for 76+ days. A $50 quarantine tank prevents this.
Emergency Preparedness
Equipment fails. Power goes out. Things go wrong. Having a plan and supplies ready means the difference between a minor setback and a total loss.
Power Outage
Priority: Keep water oxygenated
- •Use a battery-powered air pump (every saltwater keeper should own one)
- •No battery pump? Scoop and pour water back from 12+ inches above the surface every 30 min
- •Wrap the tank in blankets or towels to retain heat
- •Do NOT feed. Do NOT do water changes
- •After power returns: 25–50% water change, monitor ammonia for 48 hours
Heater Failure
Prevention: Always use two heaters
- •Stuck OFF: Float sealed bottles of warm water in the tank. Raise temp slowly (1–2°F/hour max)
- •Stuck ON: Unplug immediately. Float sealed bags of ice water (NOT ice cubes — they're freshwater)
- •Prevention: Two heaters at half wattage each. If one fails, the other provides backup
- •Use a separate thermometer — don't rely on the heater's built-in thermostat
Ammonia Spike
First step: Find and remove the source
- •0.25 ppm: 25% water change. Reduce feeding. Check for dead organisms
- •0.5 ppm: 50% water change immediately
- •1.0+ ppm: 75% water change. Dose Seachem Prime to detoxify
- •Don't feed for 24–48 hours after a spike
- •Common causes: dead fish/invert, overfeeding, too many fish added at once
Emergency Supplies Checklist
Your First Year: What to Expect
Here's a realistic month-by-month roadmap. The first 6 months are the hardest — after that, maintenance becomes routine and you can start enjoying the tank you built.
Setup & Cycling Begins
Tank is set up, saltwater mixed, equipment running. Ammonia begins to rise. Water may turn cloudy from a bacterial bloom — this is normal.
Action: Test water daily. Do NOT add fish. Do NOT add supplements.
Cycle Completes
Ammonia spikes then drops. Nitrite spikes then drops. Nitrate appears. When ammonia and nitrite both read zero, the cycle is done.
Action: Add your first 1–2 hardy fish. Drip acclimate them.
Ugly Stage Begins
Diatoms (brown algae) coat everything. This is the most expected event in a new tank. Your cleanup crew will start earning its keep.
Action: Add your first cleanup crew. Continue adding fish slowly (1–2 every 2–3 weeks).
Peak Ugly Stage
Cyanobacteria and hair algae may appear. The tank looks terrible. This is when most beginners get discouraged and quit.
Action: Reduce photoperiod to 6–8 hours. Keep up water changes. Manual removal. DO NOT give up.
Stabilization
Algae outbreaks subside. Nutrient export catches up with input. Water parameters become more stable and easier to maintain.
Action: Test alkalinity, nitrate, and phosphate twice weekly. Consider simple corals if going reef.
Maturation
Coralline algae (desirable purple/pink crust) appears on rocks. Nuisance algae is minimal. The tank looks established.
Action: Test weekly. Stock more deliberately. Enjoy — you survived the hardest year.
The first 6 months are the hardest. It gets easier.
Every successful reef tank you've ever admired survived this exact timeline. The hobbyists who made it are the ones who didn't quit during months 3–5.
Where to Buy Fish
You have two main options: your local fish store (LFS) or online retailers. Each has trade-offs.
| Factor | Local Fish Store | Online Retailer |
|---|---|---|
| See fish before buying | Yes — inspect health in person | Photos/video only |
| Shipping stress | None | 1–2 days in transit |
| Price | Higher (20–40% markup) | Lower, but add shipping cost |
| Selection | Limited by location | Much wider variety |
| Expert advice | In-person (quality varies) | Forums, email support |
| Returns | Usually easy | DOA guarantees vary by retailer |
5 Questions to Ask Before Buying Any Fish
Common Mistakes to Avoid
Every one of these mistakes is incredibly common — and every one is preventable. Learn from others' losses.
Adding fish before the cycle completes
Ammonia and nitrite are invisible but lethal. If you can't read 0/0 on your test kit, the tank isn't ready.
Using tap water
Tap water contains chlorine, chloramine, phosphates, and silicates that fuel algae blooms and stress fish. Always use RO/DI water.
Topping off with saltwater
When water evaporates, salt stays behind. Top off evaporation with freshwater (RO/DI), not saltwater — or your salinity will creep up.
Overfeeding
Uneaten food decays into ammonia. Feed only what your fish consume in 2 minutes. It's better to underfeed slightly than overfeed.
Adding too many fish too fast
Each new fish adds bioload. Your biological filter can only handle gradual increases. Add 1–2 fish every 2–4 weeks.
Skipping quarantine
New fish can carry ich, velvet, or bacterial infections. A simple 2–4 week quarantine tank ($50 setup) can save your entire display tank.
Choosing a tank that's too small
Nano tanks look appealing but are less stable and limit your options. A 30–40 gallon tank is far more forgiving for beginners.
Not testing water regularly
Problems are invisible until fish show symptoms — and by then it may be too late. Test weekly and log your results.
Panicking during the ugly stage
Diatoms, cyano, and hair algae are normal in the first 3–6 months. Every successful reef tank went through this phase. Don't nuke the tank with chemicals — patience is the cure.
Not having emergency supplies on hand
A battery-powered air pump, pre-mixed saltwater, Seachem Prime, and a spare heater cost under $50 total. They can save your entire tank during a power outage or equipment failure.
Tools to Help You Succeed
We built these tools specifically to help saltwater aquarists make better decisions. They're free, no signup required.
Fish Finder
Search and filter all 773 species by care level, size, temperament, and more.
Try itCompatibility Checker
Check if two species can live together before you buy.
Try itSpecies Comparison
Compare up to 4 fish side-by-side on care, size, temperament, and more.
Try itWater Parameters Advisor
Get personalized water parameter recommendations for your specific fish.
Try itAquarium Calculators
Tank volume, salt mix, stocking density, and unit conversion calculators.
Try itReady to dive in?
You've read the guide — now start building your aquarium. Use our Fish Finder to explore all 190+ beginner-friendly species or check compatibility before you buy.